Installing the panels is only half the job. DISCOM approval is what actually connects a rooftop system to the grid and turns on net metering.
For homeowners, the DISCOM process is the part of solar they understand least and worry about most. For EPCs, it is where most delays and complaints come from. The good news is that the steps are predictable, and most hold-ups trace back to a handful of avoidable paperwork mistakes. This guide walks through the typical process in India, the documents involved, how long each stage usually takes, and how EPCs and homeowners can keep approvals moving.
Key points
- The usual sequence is application, technical feasibility, installation, inspection with a net meter, then commissioning and the net-metering agreement.
- Residential systems under PM Surya Ghar start on the national portal; the DISCOM still runs feasibility, inspection and metering.
- Most delays come from mismatches: the name on the connection, the sanctioned load, the capacity or the equipment details.
- Using one design for every document — application, layout, SLD and proposal — is the simplest way to avoid them.
Who the DISCOM is and why approval matters
A DISCOM is the electricity distribution company that supplies power to a consumer and owns the meter. Because a grid-connected solar system pushes power back into the DISCOM's network, the DISCOM has to confirm that the local network can take it, that the installation is safe, and that the right meter is fitted. Only then can the system be commissioned and exported units be credited under net metering.
Procedures differ in detail between states and DISCOMs, but the overall flow is very similar across India.
The typical steps
- Submit the application with the system capacity and consumer details.
- Technical feasibility check by the DISCOM.
- Installation by the EPC with compliant equipment.
- Inspection and installation of a bidirectional net meter.
- Commissioning and the net-metering agreement.
1. Application
For residential systems under PM Surya Ghar, the application starts on the national portal, where the consumer selects their state and DISCOM and enters their consumer number. Other consumers apply through the DISCOM's own process. The application states the proposed capacity, which should come from a proper design — see how to size a system.
2. Technical feasibility
The DISCOM checks whether the local transformer and network can take the new system, and that the capacity fits within the consumer's sanctioned load and the regulations. If the system is larger than the sanctioned load, a load-enhancement application may be needed first, which adds time.
3. Installation
Once feasibility is approved, the EPC installs the system using compliant equipment and submits the work completion details: equipment make and serial numbers, test results and the system's Single Line Diagram. For PM Surya Ghar, the installation must be done by a vendor registered for the scheme and use eligible equipment.
4. Inspection and meter
The DISCOM inspects the installation, checks safety features such as earthing and protection, and installs or replaces the meter with a bidirectional net meter that records both imported and exported units.
5. Commissioning and agreement
After a successful inspection, the system is commissioned and the net-metering agreement is executed. For PM Surya Ghar, the commissioning report then unlocks the subsidy claim, which is credited to the consumer's bank account.
“Delays almost always come from paperwork mismatches, not the installation itself.”
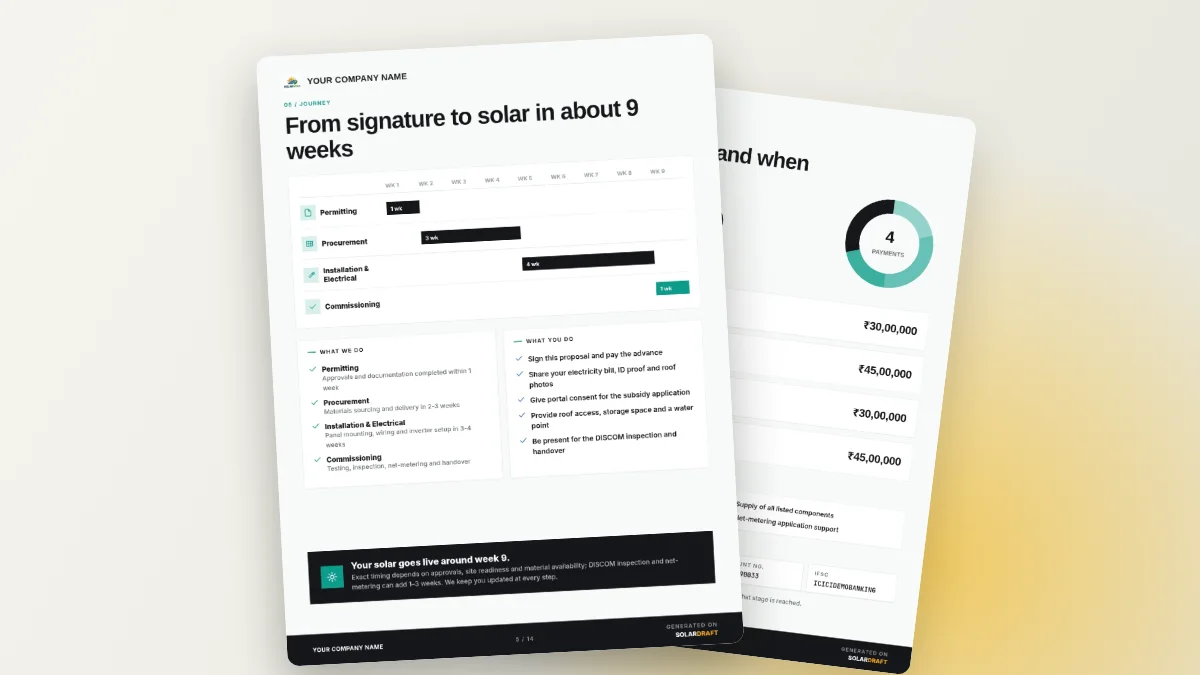
How long each stage usually takes
| Step | Typical time | What speeds it up |
|---|---|---|
| Application | 1–2 days to prepare | Documents ready as clear scans |
| Feasibility check | 5–10 days | Capacity within sanctioned load |
| Installation | 1–3 days for a home system | Material and crew planned in advance |
| Inspection and meter swap | 7–15 days | Complete work report; meter availability |
| Commissioning and agreement | A few days after inspection | Consumer available to sign |
Times vary widely by DISCOM, season and workload. Treat these as typical ranges, not promises, and say so to the customer.
Documents usually needed
| Document | Why it's needed | Who provides it |
|---|---|---|
| Latest electricity bill and consumer number | Identifies the connection and sanctioned load | Consumer |
| Identity and property documents | Proves ownership or authorisation | Consumer |
| System design and layout | Shows capacity and placement | EPC |
| Single Line Diagram | Shows the electrical connection and protection | EPC |
| Panel and inverter datasheets and certificates | Confirms compliant equipment, including domestic content where required | EPC |
| Work completion report and test results | Confirms the installation is complete and safe | EPC |
| Bank details | For subsidy credit on residential systems | Consumer |
Common reasons for delays
- Name mismatch — the connection is in a parent's or previous owner's name.
- Capacity mismatch — installed kW differs from the approved application.
- Sanctioned load too low for the proposed system.
- Pending dues on the electricity account.
- Wrong equipment details — serial numbers or certificates that don't match.
- Incomplete safety work — missing earthing, labels or protection devices found at inspection.
- Meter availability at the DISCOM.
How EPCs keep approvals moving
- Check the bill, the name on the connection and the sanctioned load at the first site visit, before quoting.
- Design the system once and use the same capacity on every document.
- Generate the layout and SLD from the design rather than drawing them separately — see what a solar SLD shows.
- Photograph earthing, protection devices and labels before calling for inspection.
- Keep a checklist per customer and update them at each step — a CRM helps.
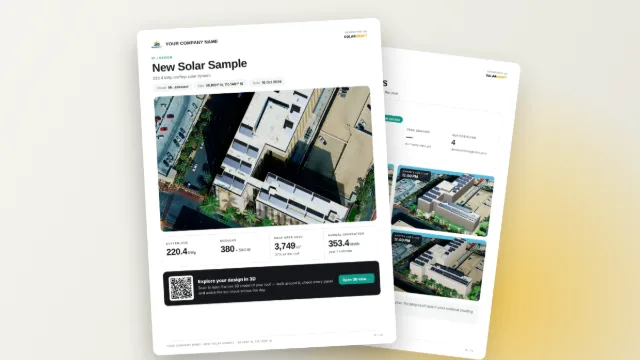
SolarDraft's Solar 3D Design produces the layout, string route drawing and Single Line Diagram from the same model, and the proposal carries the same capacity, so paperwork stays consistent. Watch our short on DISCOM-ready proposals.
“One design, one capacity, every document. That rule alone removes most approval delays.”
What homeowners can do to help
- Check that the electricity connection is in your name before applying; transfer it first if not.
- Clear any pending dues on the account.
- Ask the installer whether your sanctioned load needs to be increased for the system you want.
- Keep your bill, ID and property documents ready as clear scans.
- Respond quickly when the DISCOM schedules an inspection.
Accurate paperwork starts with an accurate proposal and correct net-metering basics. New installers can also read common mistakes new EPCs make, and homeowners comparing installers can use our guide on choosing a solar EPC.
FAQ
Who should file the application, me or the installer?
Usually the installer files it with your login or consent, because they know the technical details. You stay responsible for the documents in your name.
Can I start using solar before the net meter is installed?
Generally no. Grid-connected systems should only be switched on after the DISCOM commissions them.
What if my sanctioned load is lower than the system size?
The DISCOM may ask for a load-enhancement application before approving the system, or limit the capacity. Check this before finalising the design.
Is the process the same in every state?
The overall flow is similar, but forms, fees, timelines and metering rules vary by state and DISCOM. Your installer should know the local process.